Your cart is currently empty.
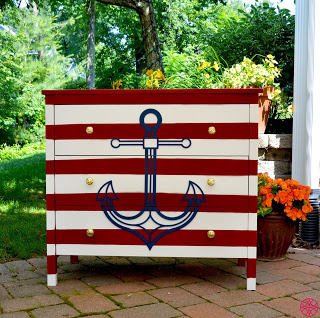
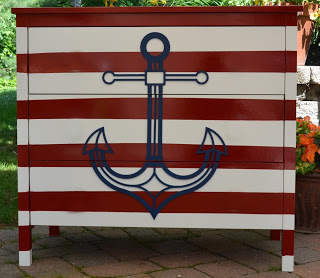
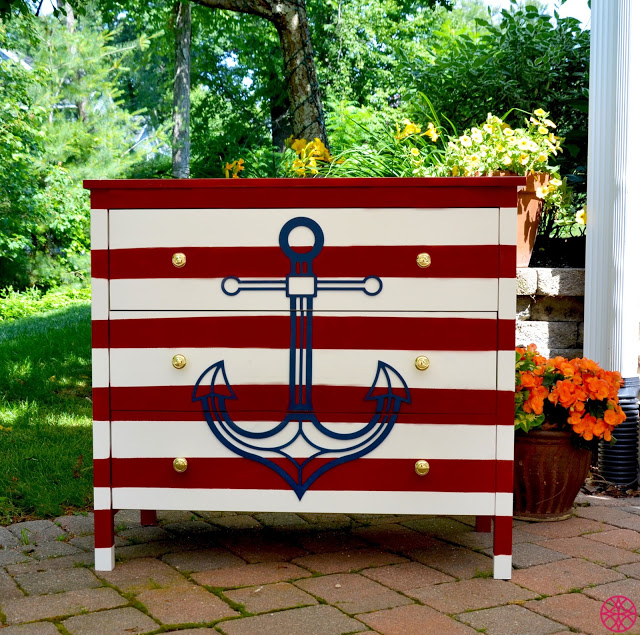
Anchors Away….A DIY Nautical Dresser
What you’ll need:
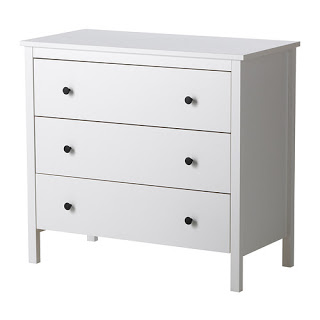
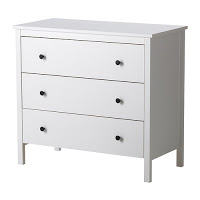
- 3 drawer white dresser that will fit the Multiple Parts Anchor O’verlay (it is trim-to-fit so sizing should not be an issue unless the
dresser is too big) The dresser we used measures 32″ high x 35.5″ wide. It works on the IKEA Koppang, IKEA Malm, IKEA Hemnes, IKEA Askvoll and some dressers by International Concepts available through Wayfair , Amazon, Target and HomeDepot online.
- Your choice of adhesive for the O’verlay such as Loctite Quick Set Epoxy or LiquidNails 100% clear Silicone Adhesive
Tools needed:
- A Level
- Pencil and Ruler
- Small Roller brush and a small paint brush
for edges and corners
- Paint tray
- Drill (for drawer pull holes if needed)
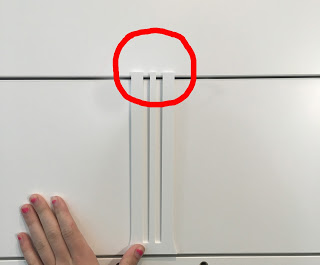
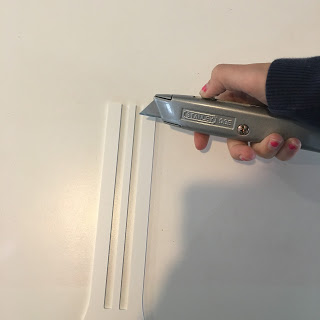
- Blade such as an X-Acto knife (for trimming middle of
anchor if needed)
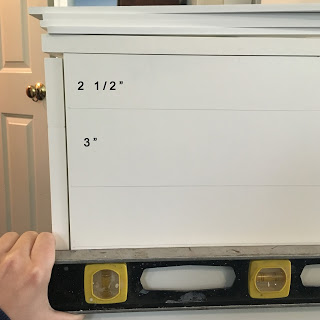
Step 3: Using the level, ruler and pencil, lightly mark on the dresser horizontal 2 ½” stripes that are about 3” apart from each other.
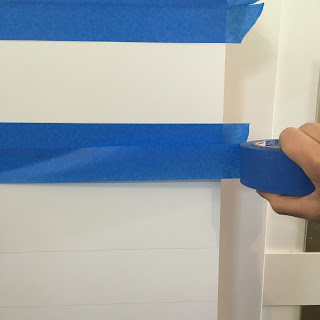
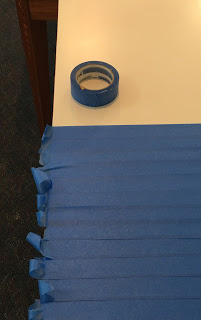
pencil markings covering the space of the stripe that is 3”. Overlapping multiple pieces of the tape may be required depending on the thickness of
tape being used. Repeat this step until the dresser is covered in 3” tape
stripes.
unless you want the top of the dresser to be painted red, in that case,
no need for tape!
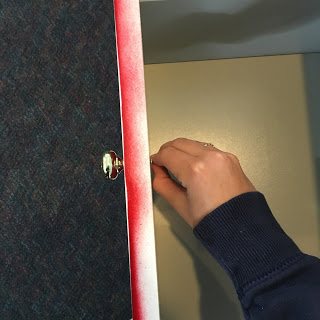
IMPORTANT! Firmly press down the tape especially the edges to avoid paint from dripping or smudging so you create clean lines.( See Hint below)
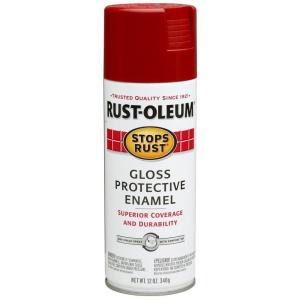
the spray paint and hold the can 6 to 8 inches away from the dresser spraying the un-taped exposed white parts in light even strokes as specified in the paint manufacturer’s instructions. Allow to dry for about 30
minutes then apply a second coat. Wait about 20 minutes and carefully peel the tape off. Once all of the tape is off, allow to dry completely.
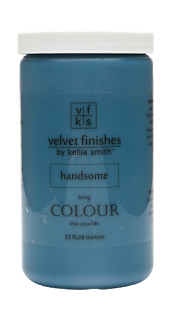
Step 8: Clean the O’verlays parts with rubbing alcohol as suggested in the O’verlays instructions. Then lay out the Multiple Parts Anchor O’verlay to ensure the correct sides of the O’verlays are being painted. We used Velvet
Finishes Paint in color “Handsome” to paint our O’verlays. Other paints or spray-paints can also be used. Pour a small amount of paint into the paint tray,
use the small paint roller to apply the paint to the surface area. The O’verlays may need multiple coats to get the true color from the Velvet Finishes Paint or other roller applied paints.Use the small brush to finish the edges of the O’verlays.
If spray-painting, one good coat of spray-paint should do it. Be sure to get around the edges of the panels.
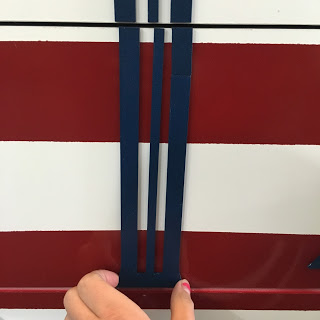
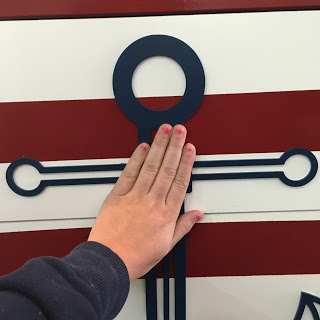
Step 9: Once all the paint has dried on both the O’verlays and the dresser, apply your choice of adhesive evenly to the unpainted side of
all 5 pieces of the Multiple Parts Anchor. Be sure not to put too much glue so the excess glue doesn’t get pushed out around the outer edges of the O’verlay. Once again, please follow the adhesive manufacturers instruction for application and dry time.
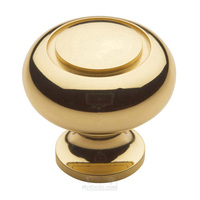
Step 10: Attach the drawer knobs onto the drawer faces. If
knob holes are not already there, drilling may be required.
the world!
share@myoverlays.com
